
There’s nothing quite like the smell of freshly baked bread wafting through your home. But what if you could enjoy that experience without starting from scratch every time? Good news: you can prepare bread dough in advance and store it for later use—a game-changer for busy home bakers.
Whether you’re baking classic sandwich loaves, whole wheat rolls, focaccia, or no-knead artisan bread, storing dough correctly saves time and enhances flavor. This guide walks you through everything you need to know about storing bread dough, with 100% plant-based methods and no animal-derived ingredients.
Let’s dive into the art (and science) of prepping, storing, and reviving dough like a pro.
Why Store Bread Dough?

Storing bread dough allows for:

- Flexibility: Bake when it’s convenient for you.
- Improved flavor: Longer fermentation = deeper taste.
- Fresh bread on demand: Store today, bake fresh tomorrow.
- Meal prep: Plan ahead for weeknight meals, holidays, or special occasions.
Plus, storing dough doesn’t require preservatives, eggs, dairy, or any animal-based products—just smart techniques and proper timing.
Types of Bread Doughs That Store Well
Almost all plant-based bread doughs can be stored if handled properly:
| Dough Type | Examples | Storage Suitability |
|---|---|---|
| Lean Dough | Baguette, ciabatta, sourdough | Excellent |
| Enriched Dough | Vegan brioche, cinnamon rolls | Good (short-term) |
| Whole-Grain | Whole wheat sandwich bread | Excellent |
| Flatbread Dough | Pita, naan, focaccia | Very good |
3 Main Ways to Store Bread Dough
1. Refrigeration (Short-Term: Up to 3 Days)
Refrigerating dough slows down yeast activity without halting it. This method allows the dough to develop better flavor over time.
Best for:
- Dough you’ll bake within 1–3 days
- Overnight proofing for flavor and texture
How to Refrigerate Bread Dough:
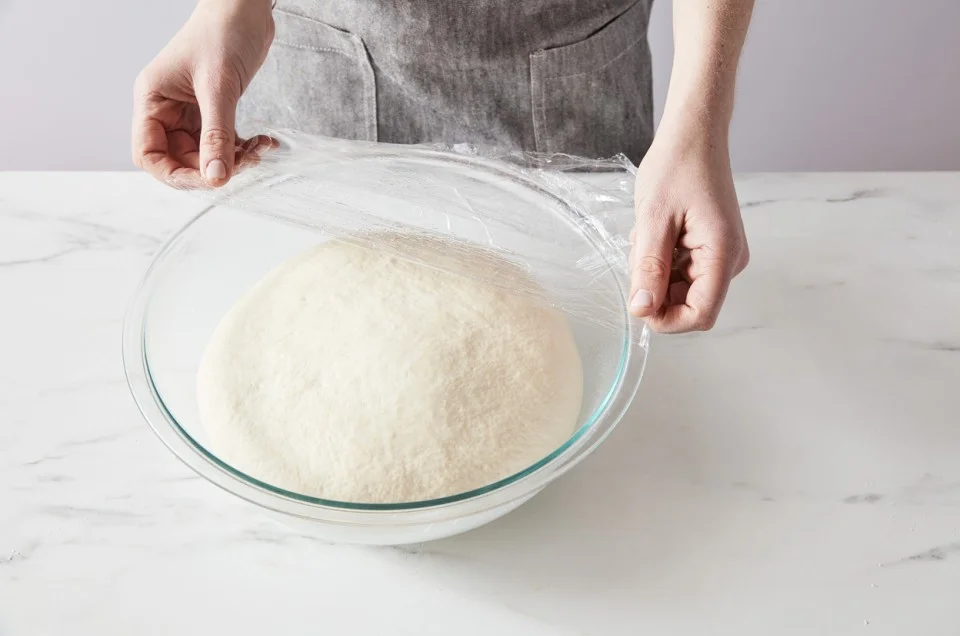
- Let the dough rise at room temperature for its first proofing (usually 1–2 hours).
- Gently deflate the dough.
- Lightly oil the surface to prevent drying.
- Place in an airtight container or bowl covered with plastic wrap or reusable wrap.
- Label with the date.
- Store in the refrigerator for up to 72 hours.
When Ready to Bake:
- Remove from the fridge.
- Let it come to room temperature for 30–60 minutes.
- Proceed with shaping, final proofing, and baking.
Tip: Cold fermentation enhances taste, especially in lean doughs like baguette or artisan loaves.

2. Freezing Dough (Long-Term: Up to 3 Months)
Freezing dough halts yeast activity almost entirely. It’s ideal if you want to prepare large batches and use them gradually.
Best for:
- Meal prepping several loaves or rolls
- Dough you won’t bake within 3 days
How to Freeze Bread Dough:
- Allow the dough to rise once (first proofing).
- Punch it down gently.
- Shape into a ball or roll, then wrap tightly in plastic wrap or compostable wrap.
- Place the wrapped dough in a freezer-safe container or zip-top bag.
- Label with date and type.
- Freeze for up to 3 months.
To Thaw:
- Transfer to the refrigerator and let thaw overnight (8–12 hours).
- Let it come to room temperature and rise again before baking.
Note: Enriched doughs (e.g., vegan brioche) may take longer to thaw due to added fats.
3. Bulk Cold Fermentation (Up to 3 Days)
This technique combines the benefits of fermentation and storage, often used for no-knead or artisan-style breads.
How to Cold Ferment:
- Mix the dough and skip the first rise at room temperature.
- Cover tightly and refrigerate immediately.
- Let it rest for 12–72 hours.
- Shape and bake directly from cold, or let it warm slightly first.
This method develops intense flavor and beautiful crust structure—perfect for sourdough-style bakes.

Pro Tips for Storing Bread Dough Successfully
1. Use the Right Container
Choose a large, airtight container that gives the dough room to expand. Glass or BPA-free plastic works well. Label your container with:
- Type of dough
- Date mixed
- Expected baking day
2. Oil the Dough Lightly
A light coating of olive oil or avocado oil prevents drying and sticking, especially for refrigerated dough.
3. Don’t Skip the Initial Rise
Always let your dough rise once before storing. Yeast needs time to start fermenting and developing flavor.
4. Handle Gently After Refrigeration
Dough will be delicate after cold storage. Avoid overworking it—just shape and allow a final rise.

5. Adjust Proofing Time
Cold dough takes longer to proof before baking. Plan for extra time when baking from refrigerated or frozen dough.
Storing Dough by Type
| Dough Type | Refrigeration | Freezing | Special Tips |
|---|---|---|---|
| Lean (e.g., baguette) | Up to 3 days | 3 months | Best for flavor-rich cold fermentation |
| Whole Wheat | Up to 3 days | 3 months | May need more hydration after thawing |
| Enriched (vegan brioche, cinnamon rolls) | Up to 2 days | 1–2 months | Freeze after shaping for easier baking |
| Flatbreads (pita, naan) | 2–3 days | 2 months | Freeze as dough balls or rolled rounds |
Common Mistakes to Avoid
| Mistake | What Happens |
|---|---|
| Storing warm dough | Traps steam, leads to spoilage |
| Not covering properly | Dough dries out or forms a crust |
| Over-proofing in fridge | Dough can collapse or lose structure |
| Skipping label/date | You forget what’s inside or let it spoil |
| Freezing unproofed dough | Leads to dense or under-risen bread |
100% Plant-Based Storage Notes
All the methods discussed are perfectly suited for vegan or plant-based dough recipes. Here’s how some common vegan ingredients affect dough storage:
| Vegan Ingredient | Storage Behavior |
|---|---|
| Plant milk | Fine for refrigeration; freeze after first rise |
| Vegan butter | Slightly reduces freezer shelf life (2 months) |
| Aquafaba or flax eggs | Stable when frozen in dough |
| Olive oil/coconut oil | Helps prevent drying during storage |
Always check that your dough is made with stable, non-perishable plant-based ingredients when planning to store it long-term.
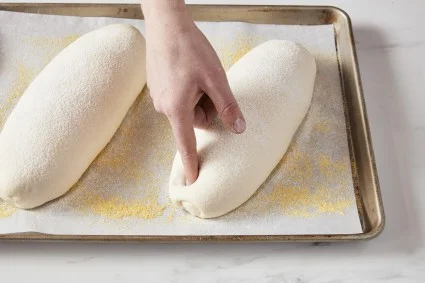
Can You Store Shaped Dough (e.g., Rolls, Loaves)?
Yes! In fact, freezing pre-shaped dough is ideal for convenience baking.

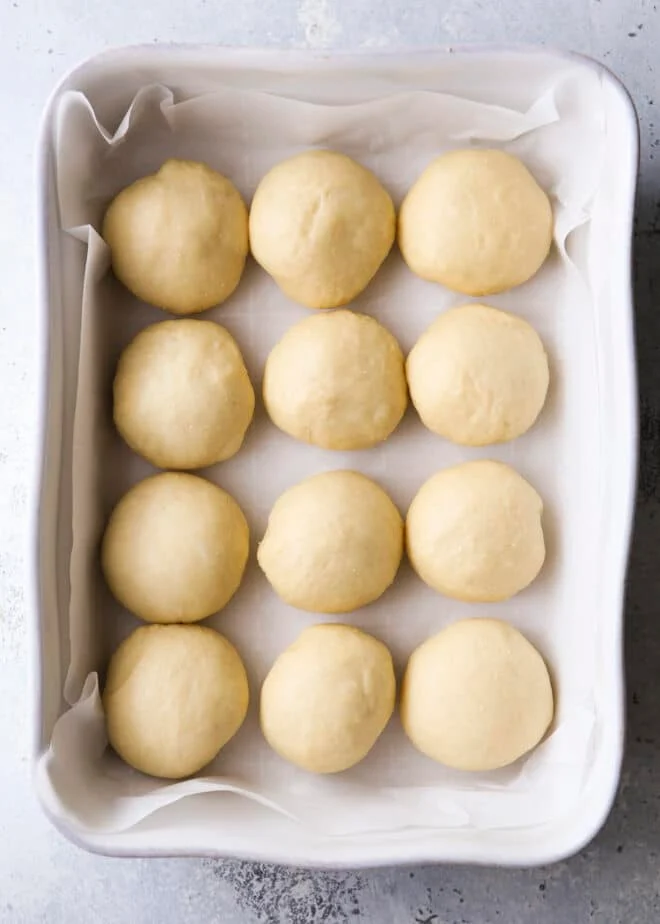
To Store Shaped Dough:
- Shape into rolls, loaves, or buns.
- Place on a parchment-lined tray and freeze for 1–2 hours.
- Transfer to a freezer-safe bag or container.
- Freeze for up to 2 months.
- Thaw overnight in the fridge, then let rise and bake as usual.
This method is perfect for weekend prep or holiday baking.
Final Thoughts
Storing bread dough doesn’t just save time—it enhances flavor, improves texture, and helps you bake with confidence on your own schedule. Whether you’re a sourdough enthusiast or just love the smell of fresh sandwich bread, knowing how to store your dough gives you total control over your baking routine.
And best of all? You can do it all without animal products. With simple ingredients, smart storage, and a little planning, plant-based bread baking can be just as rewarding (and delicious) as traditional methods.